How to turn PDF pages into JPG images
PDF to JPG is useful when a slide, document or website needs a picture of a complete PDF page. The tool renders the page as it appears, including its text and graphics. It does not retrieve only the original photographs embedded inside a PDF. The result is an image rather than an editable document.
Step by step
Choose the PDF
Open PDF to JPG and select one source PDF. Use the three-page sample if you want to compare the result before choosing your own document.
Select page positions
Use the page selector to specify the pages you need, for example 1,3 or 1-3. Leave it blank to render every page. The numbers start with the first physical page in the PDF.
Create the JPG files
Start processing and keep the browser tab open while the progress counter advances. One selected page produces a JPG directly. Several selected pages produce a ZIP; download it and extract the images with your device’s file manager.
Review the pictures
Open each JPG and inspect small text, diagrams and page edges at the size you intend to use. Retain the PDF if you will also need selectable text, links or interactive forms.
Try a worked example
Examples are generated demonstration files, not customer documents. Downloading an example does not select or upload your own files.
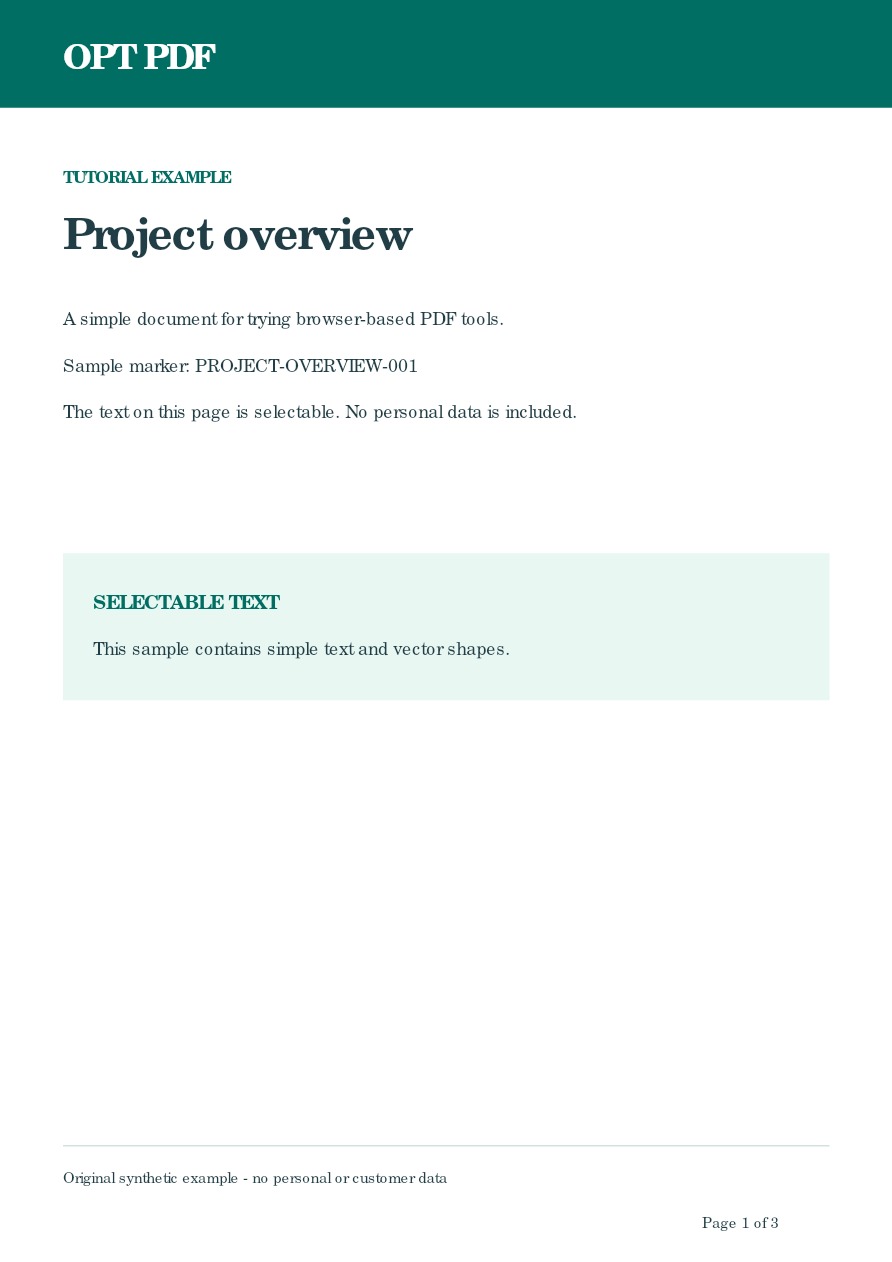
Select the sample and leave the page field empty so all three pages are rendered.
The ZIP contains three JPG pictures, one for each complete source page. The text appears inside the image and is not selectable as document text.
Inspect example output — ZIP containing three page imagesBefore you rely on the result
The usual 50 MB input and 200-page limits apply, and large page dimensions can reach browser memory limits sooner. Process a smaller selection if necessary.
Rendering does not add OCR, reconstruct editable text, preserve PDF interactivity or promise print-quality output. JPG compression can change fine detail; check the exported image.