How to make a PDF from JPG or PNG images
JPG to PDF puts image files onto PDF pages so they can be shared or printed as one document. It supports JPEG and PNG inputs, with one image on each output page. The picture is fitted proportionally inside the selected paper area and centered. Creating a PDF does not turn the text inside a photograph into editable or searchable text.
Step by step
Choose the images together
Select one or more JPEG or PNG files in a single selection. Review the numbered list and move an image upward when it needs to appear earlier in the output.
Set the paper layout
Choose A4 or US Letter and portrait or landscape orientation. Set the margin in PDF points. These controls determine the page layout; they do not edit the photographed content.
Create the PDF
Start processing and download the new PDF when it is ready. Each selected image is placed on its own page. The source image files remain unchanged.
Review at the intended size
Check image order, orientation and readable detail in a PDF viewer. If a picture is sideways, correct the source or use Rotate PDF on the relevant output page before sharing.
Try a worked example
Examples are generated demonstration files, not customer documents. Downloading an example does not select or upload your own files.
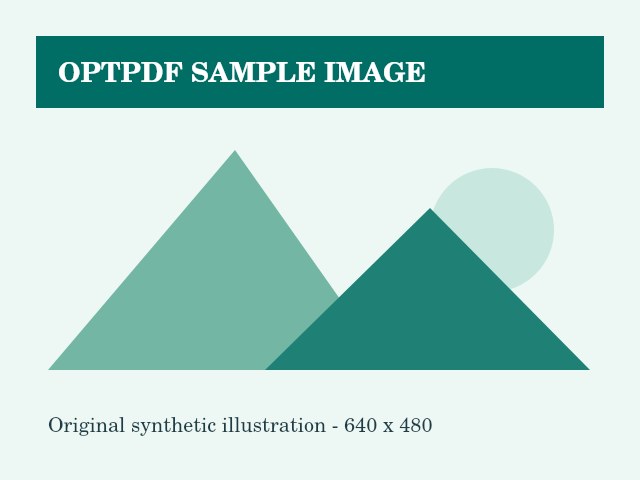
Choose the sample JPG, A4 paper, portrait orientation and a margin of 24 PDF points.
The result has one portrait A4 page with a centered, proportionally fitted demonstration image and a margin around it.
Inspect example output — One-page image PDFBefore you rely on the result
Use no more than 25 image files and 50 MB combined input. Images over 40 megapixels are rejected, and browser memory may impose lower practical limits.
The tool does not run OCR or recover detail missing from a low-resolution source. Paper orientation does not guarantee automatic correction of every phone photo's rotation metadata.